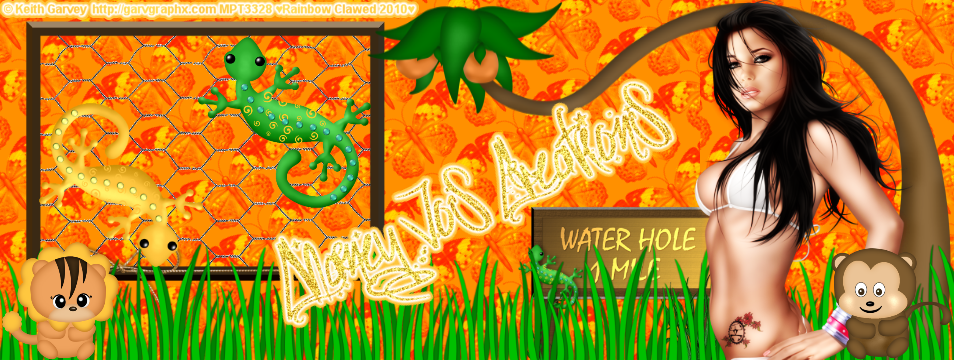
Sexy Valentine Tut

Artwork by Ismael Rac at AMI here
Scrapkit by Fantasy Moments here
Template by me here
WSL_Mask353 by weescotslass here
Filters used:
Pentacom- Colordot
Alien Skin, Eyecandy Gradient Glow
Open my template in PSP. Duplicate and close the original. Delete the info layer.
Activate blackcircle layer and use magic wand to select it. Add a new raster layer. Choose darker color from tube and floodfill circle. Then apply pentacom color dot with following setting:

Activate hearts layer. Use magic wand to select hearts. Choose FM_Sweet Valentine 22 and copy and paste as new layer. Selections/Modify/Smooth with these settings: Smoothing amount-8 Corner scale-7. Selections/Invert and hit delete. Delect and apply dropshadow of choice.
Activate heart1 layer. Use magic wand to select it. Choose 2 colors for your gradient. I chose white and a light pink color. Floodfill heart with gradient. With heart still selected copy and paste your tube. Postion it where you like then Invert and delete.
Invert selection again. Duplicate tube layer. On bottom tube layer gaussian blur at 7. Change layer properties to softlight. On top layer change layer properties to luminance (L)
Activate heart 2 layer and repeat the same steps as above for the heart1 layer.
Activate Sexy Wordart of your choice. Selections/select all/ float then defloat. Copy and paste tube with you like. Selections/Invert and hit delete key. Lower opacity on tube layer to 50%.Activate Sexy Wordart again and apply Eyecandy Gradient Glow with following settings:

Activate Grayrectangle and select with magic wand. Floodfill with color or gradient of your choice. Apply same Gradient Glow as before.
Activate the Valentine wordart and change the color to whatever you like. You can add dropshadow or gradient glow, whatever you like.
Copy and paste your tube again. Resize if needed. Postion it where you like.
I decided to resize my circle layer by 80%. You can do this or keep it the same.
Activate background layer and floodfill with red or color of choice. Apply WSL_Mask353. Merge group.
Add and elements you like. Don't forget the copyright info.
Thank you for trying my tut. I welcome and questions, sugestions and friend advice. So please feel free to comment or shoot me an email at ChaneyJo@gmail.com
No comments:
Post a Comment